Using Starter Pages To Build Out More Content
This article addresses how you can use starter pages to build more content for your website.
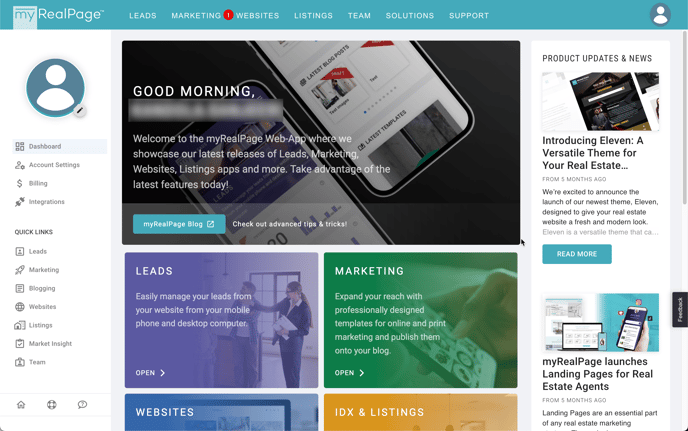
Login to myRealPage:
Click here to visit this help article to log in to your account.
1 - Navigate to "Websites" tab:
- Click on "Websites" to manage your website.

2 - Click on "+ New Page" on the left hand side bar underneath "Pages & Templates":
You also have the option to access the 'New Page' floating icon located at the bottom right-hand corner of your screen while viewing the list of all your pages.

3 - Choose from one of the dozens of Starter Pages:
We provide these starter pages for layouts that are ready to edit right into your theme based on a specific use case. Some of these include content pages like neighbourhoods and buildings, while others are simple writing text pages with imagery like an About Page or Selling Page.

- A. Show All : Displays all the starter pages available in your myRealPage library.
- B. Generic: Displays content related blocks including writing, FAQ, sections, home evaluation, about, buying, selling etc.
- C. Listings: Provides useful starter pages like neighbourhood pages, building pages, and predefined search pages.
- D. Media: This will provide you an option of having a page that can load a gallery of images.
4 - Configure your page settings and click on "create":

- A. Page Name : Provide the name of the page that you would like to use. This page name also becomes the Page Slug / URL (see below).
- B. Add Page To Menu After: You can choose to add the page to your menu and navigation now, or you can opt to do this later once your page is complete.
- When you toggle the first drop-down menu, you'll find two options:
-
Add Page to menu AFTER: This option places the page you're creating next in sequence after the selected menu item.
-
- When you toggle the first drop-down menu, you'll find two options:
-
-
-
Add Page to menu UNDER: This option adds the page you're creating as a sub-item beneath an existing label in the main menu.
-
-
- C. Page Slug: This is the URL of your page when sharing this page with others. It would be what comes after yourdomain.com/
- NOTE: Once you create a page, you will not be able to edit the URL of the page. This process will require you to clone the page in order to change the URL and delete the existing page. As a result, it's recommended to ensure that your (A) Page Name is what you want your Page Slug/URL to be.
- D. Page Title: This page title is what users will see when your page is indexed on Google's Search Engine and on their browser tab, alongside when you're sharing this page with others. Learn more about this with our SEO Guide here.
- E. Remove Global Site / Sub-title: This allows you to remove the global Page Title & Sub-title which is added to every page by default when you do not set a specific page title and description. It acts as a prefix to the page name, but you can toggle this off if you want to create unique page titles for all your pages. Learn more about this with our SEO Guide here.
- F. Title Preview: This is the preview of how your title will appear as stated on (D) Page Title.
- G. Description: This is your page description which is visible on Google's search engine results. Writing a descriptive page description can be the reason why someone clicks your link, whether it be through a social media post or on a google search result.
- H. Featured Image: You can learn more about the feature image here with our SEO guide. This setting allows you to set a specific feature image for this page which will appear when sharing on Facebook or other platforms that support opengraph. Setting this image will overwrite the default featured image on the global settings of your website.
- I. Create: Let's get started now. Click on "Create" to start modifying your page.
5 - Replace a page with a starter page from at the page editing level:
- In addition to adding a starter page from scratch, you can replace an existing page with a starter page at the page level.
- Simply click on the page you want to edit from the Website Dashboard > All Pages section, and then click on the 3 dots to open up the additional edit toolbar options. You will see an option as shown below indicating "Replace with Starter Page".

- Note: This option will replace the entire page content, so proceed with caution if you have already made edits to the page you're looking to replace.
Be sure to read this article here to learn how to edit your page once you've created it.