Note: This is a two part article. The first part will need to be done in your Pixilink account and the second one on your myRealPage Private Office.
-- PART 1 --
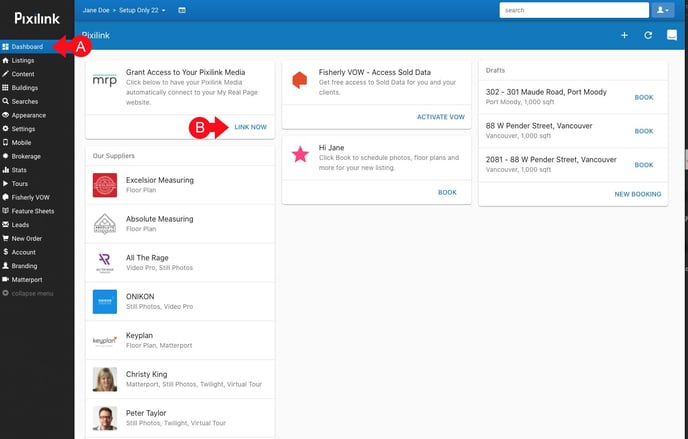
1 - Linking your Pixilink Media:
After logging into your Pixilink account.
- A. Click on "Dashboard"
- B. Click on "Link Now"
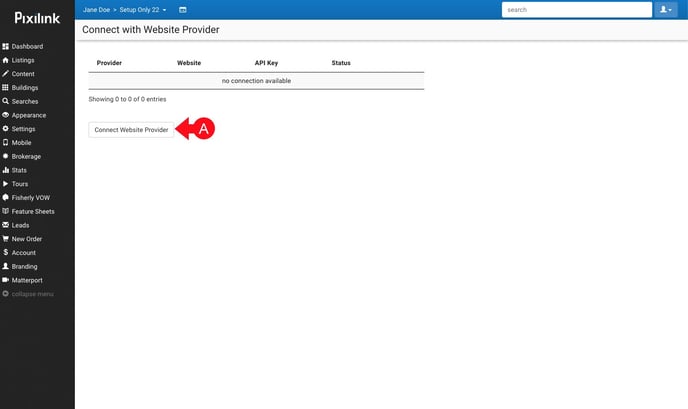
2 - Connect:
In the next screen.
- A. Click on "Connect Website Provider"
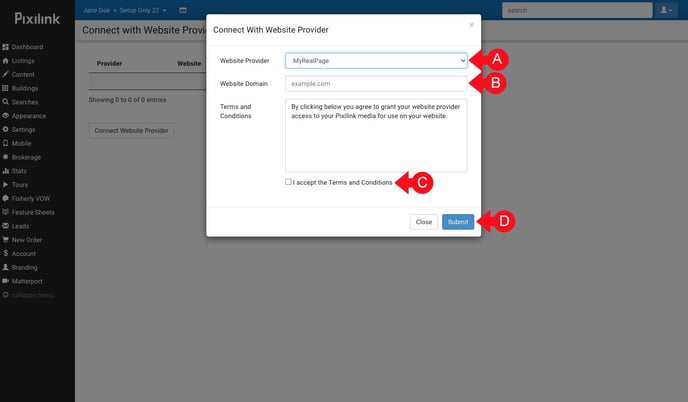
3 - Select your provider:
You will get a pop up window.
- A. Click on the "Website Provider" drop down menu and select myRealPage
- B. Optionally, you can enter your domain name under "Website Domain"
- C. Click to select the checkbox where it reads "I accept the Terms and Conditions"
- C. Click on "Submit"
-- PART 2 --
1 - From the dashboard:
After logging into your myRealPage Private Office account.
- A. Click on the "Listings" tab.
- B. Click on "Manage your listings and IDX"

2 - Once in the listings area:
- A. Scroll down and click on "Option and Settings".

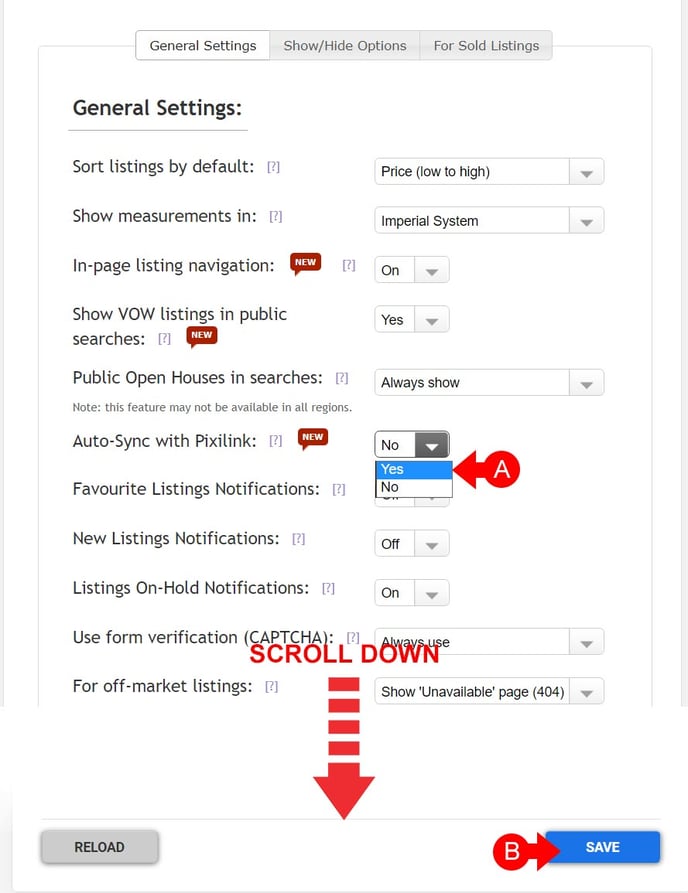
3 - Flip the switch:
- A. Click the drop down menu called "Auto Sync with Pixilink" and select Yes.
- B. Click on "Save" at the bottom of the page.