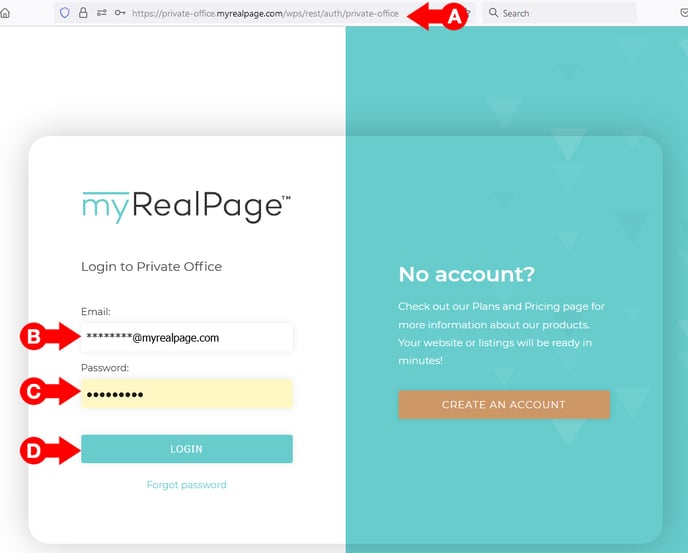
1 - Log in to Private Office:
- A. Enter the URL private-office.myrealpage.com
- B. Enter your username (the email address you used when signing up).
- C. Enter your password (which you chose during the sign-up process).
- D. Click Login.
2 - From The Dashboard:
- A. Click on the Listings Tab.
- B. Click on the Manage Listings and IDX button.

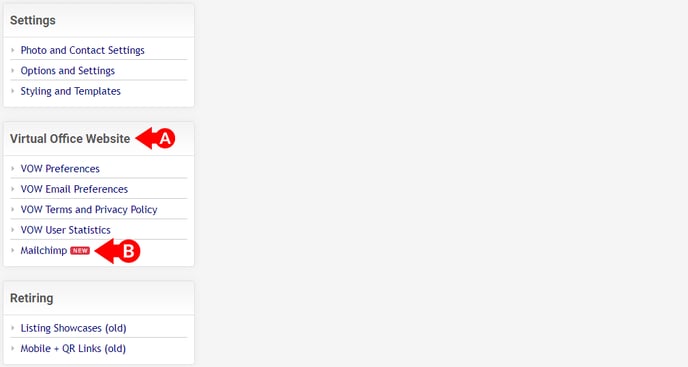
3 - In the sidebar:
- A. Look for "Virtual Office Website".
- B. Click on "Mailchimp".
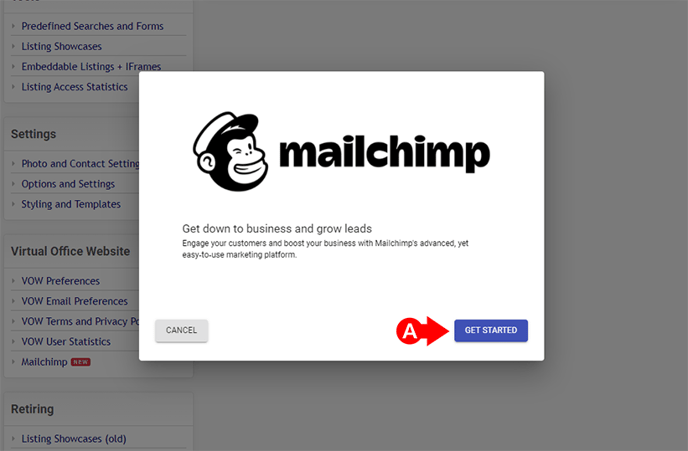
4 - In the pop-up window, click “Get Started”:
- A. Click "Get Started".
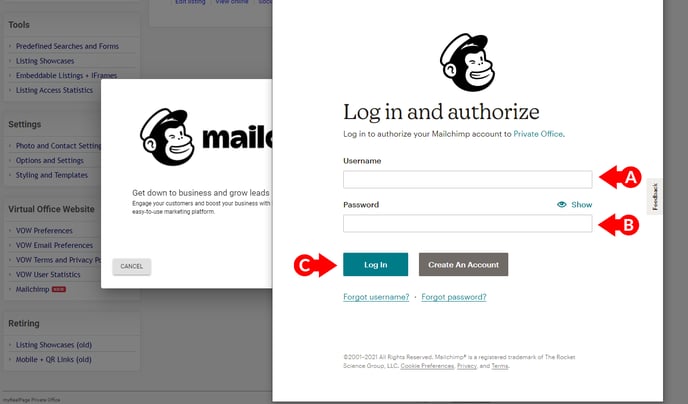
5- Enter your login information and click to sign in to Mailchimp:
- A. Enter your Username.
- B. Enter your Password.
- C. Click on "Login".
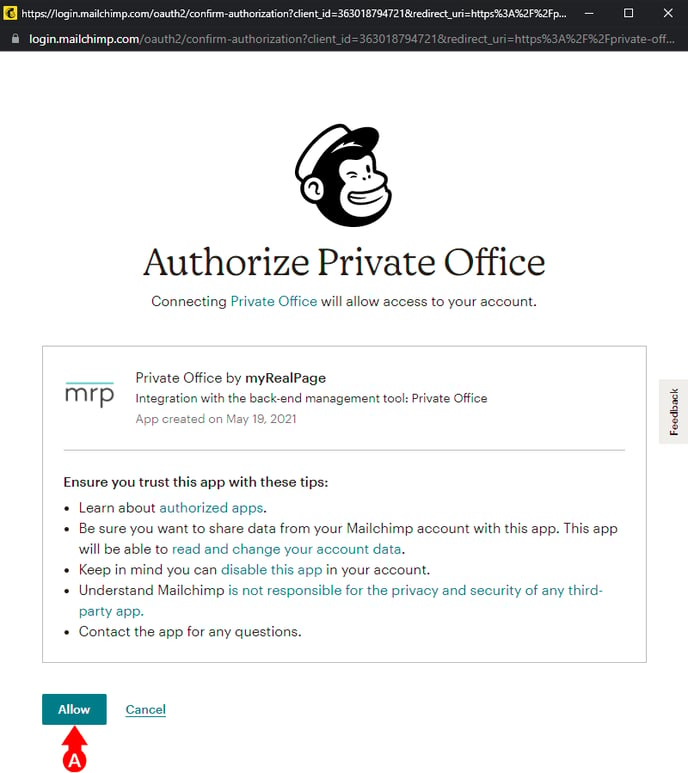
6 - You’ll need to authorize the app in order to connect with myRealPage.
- A. Click on "Allow".
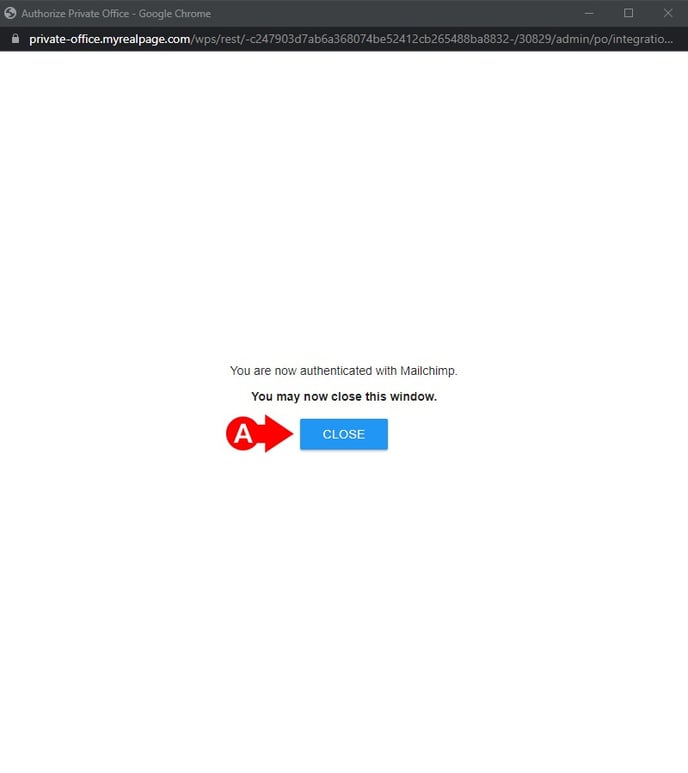
6b - Once Finished:
- A. Click "Close".
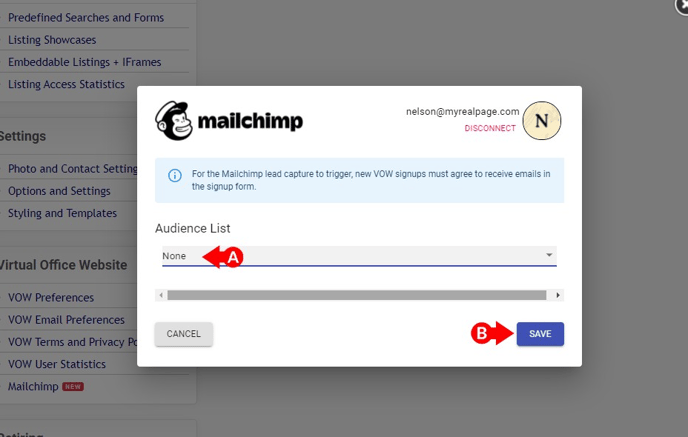
7 - Back in the Private Office window,
- A. Select your Audience from the drop down menu. If you have no Audiences setup on Mailchimp, select ‘None’
- B. Click on "Save".