1 - Log in to the Private Office
- Enter the URL private-office.myrealpage.com
- Enter your username (the email address you used when signing up)
- Enter your password (which you chose during the sign-up process)
- Click Login
2 - From the Dashboard:
- Click the “Website” tab
- Click "All Web Pages"
3 - From The Pages Section:
- Click the Build New Website button
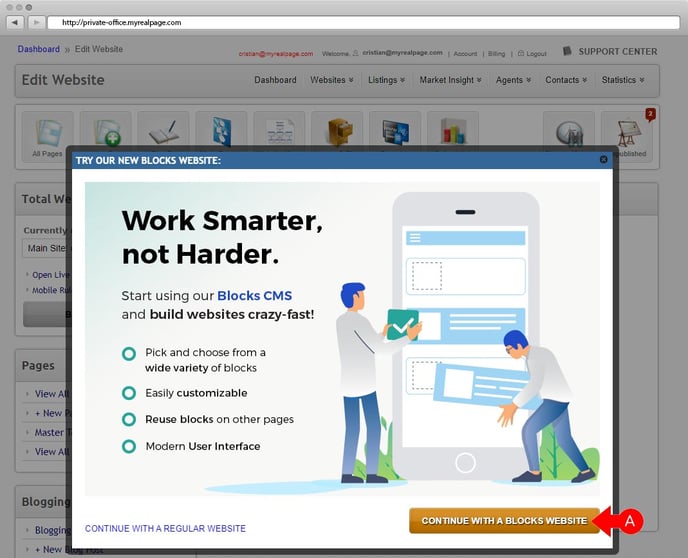
4 - In the pop up:
- Select "Continue with a Blocks Website" option
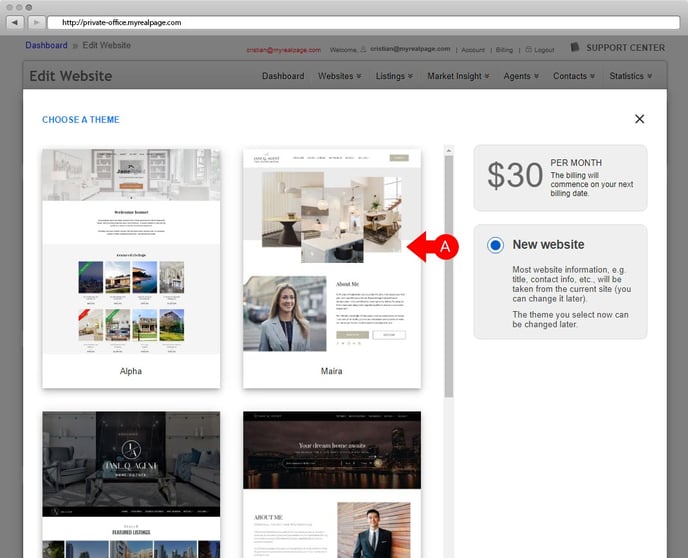
5 - Select New Theme:
- Select from the new Theme Browser. You can scroll down to view more themes.
- Click on the theme to select it.
6 - Name your website:
- You can now type a new name for the new website.
- Click on "Create Website".

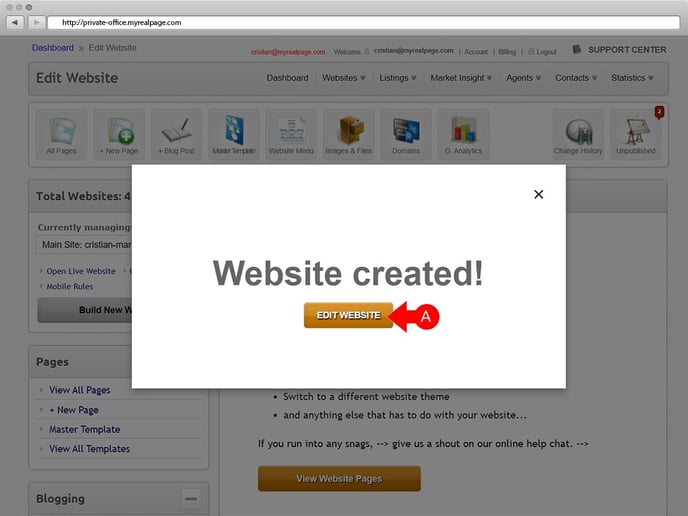
7 - Pop Up Confirmation:
- A confirmation screen will come up letting you know that the website has been created successfully.
- Click on Edit Website to start editing your blocksCMS website.
Click here to learn all of the Basics about using blocksCMS