Adding Compact Search V2 to a WordPress Site using the Gutenberg Block Editor
Please note that this set of instructions is for WordPress websites that use the Gutenberg or Blocks post and page editor.
Click here for instructions on how to use the MRP WordPress plugin with Gutenberg.
Click here to learn more about the Gutenberg WordPress editor.
Click here for instructions on how to add the MRP Compact Search to a WordPress site that is NOT using the Gutenberg editor.
In order to add the MRP Compact Search V2 to your WordPress Gutenberg website, you will need to complete two sets of steps, as outlined below.
You will end up with two separate WordPress pages. One (Part 1) will serve as the "base" or "backend" and you can choose to hide this page, and the second one (Part 2) will be where the MRP Compact Search V2 weblet will appear. The second page is the one that should be presented to, and used by your website visitors.
-- PART 1 --
1 - On WordPress
- A. Log in to your WordPress account.
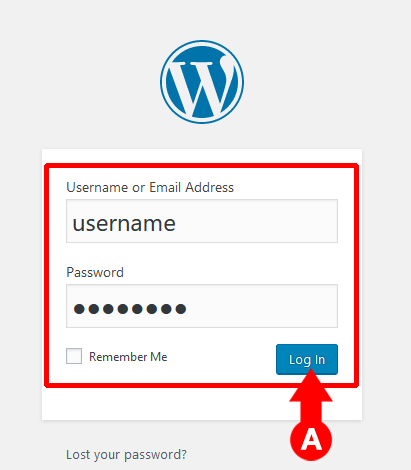
2 - On the Dashboard
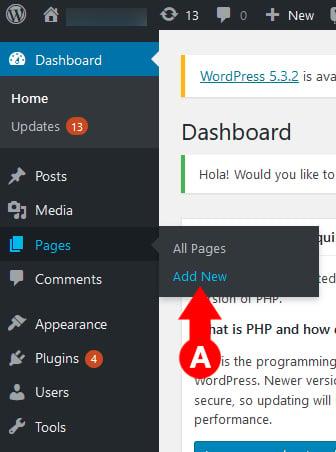
- A. On the left sidebar of your WordPress dashboard, navigate to Pages > Add New.
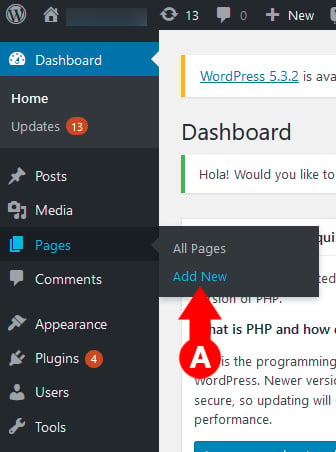
3 - Creating the Backend Page
- A. Click on the myRealPage Shortcode icon, either by hovering on the icon in the main text editor area, or by clicking on the "+" icon on the upper left corner, and selecting the MRP icon.
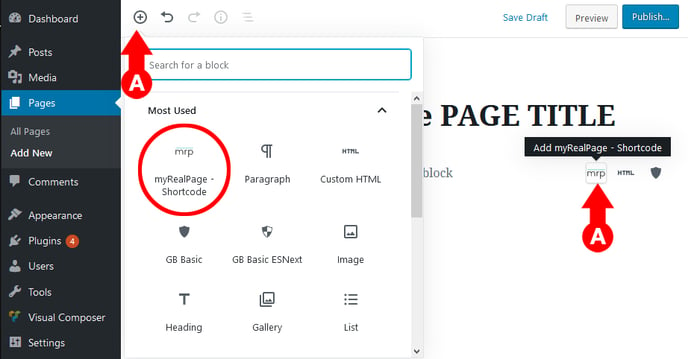
4 - Setting up the Backend Page
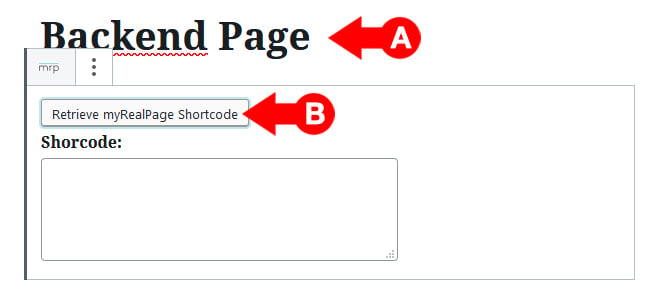
- A. Assign a title to your Backend Page. Please take note of this title and the URL it will automatically generate later on.
- B. Click on the Retrieve myRealPage Shortcode button. This will open a pop-up window. (Please note that you will be asked to log in to your myRealPage account, if you are not already logged in.)
5 - Search Forms
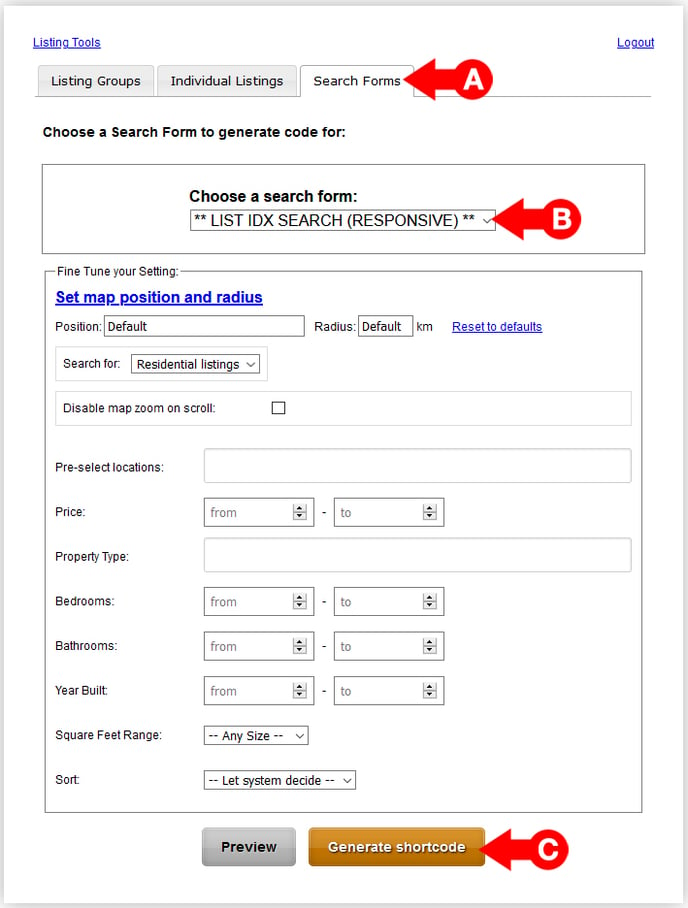
- A. In the pop up window, and once logged in, click on the Search Forms tab at the top.
- B. In the Choose a search form dropdown menu, select ** LIST IDX SEARCH (RESPONSIVE) **
- C. Click on the Generate Shortcode button. This will open a small window with some code.
6 - Embeddable shortcode window
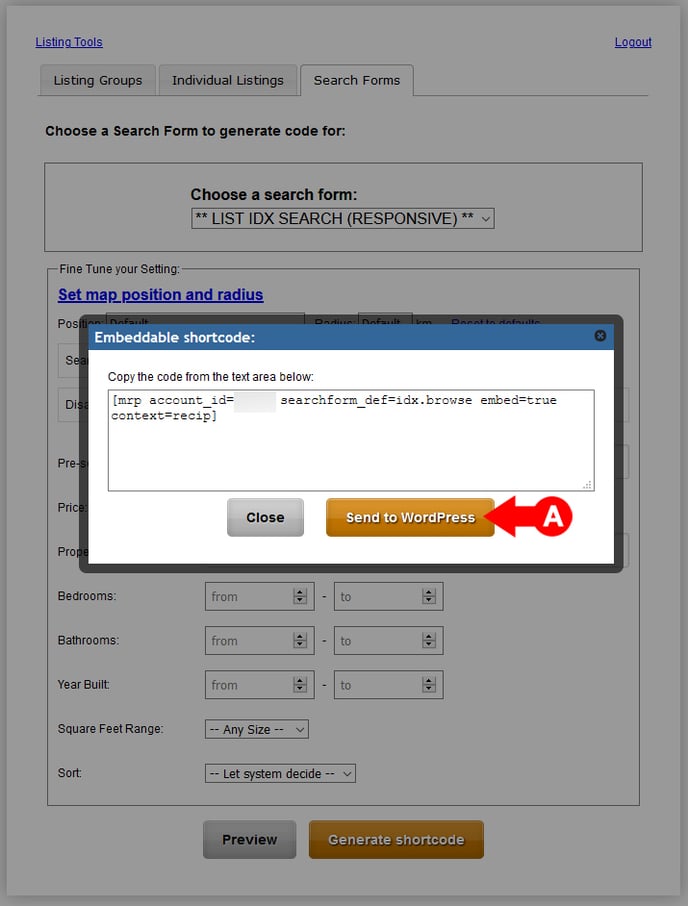
- A. In the Embeddable shortcode window, click on the Send to Wordpress button. This will close your pop up windows and take you back to the WordPress editor.
7 - Finishing the Backend Page
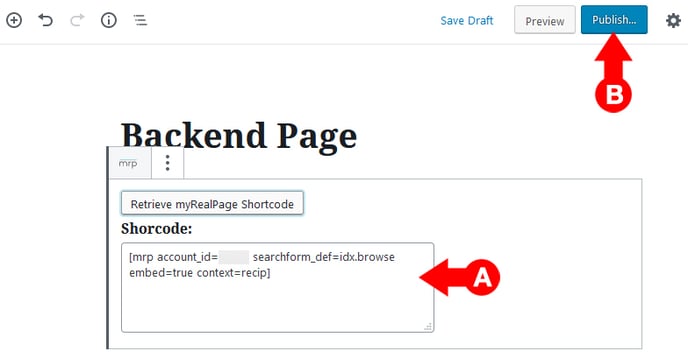
- A. The shortcode will be automatically added to the space provided.
- B. Click on the Publish button on the upper right corner. Please proceed to Part 2.
-- PART 2 --
8 - On the Dashboard Again
- A. On the left sidebar of your WordPress dashboard, navigate to Pages > Add New.
9 - Creating the Page with Compact Search V2
- A. Click on the myRealPage Shortcode icon, either by hovering on the icon in the main text editor area, or by clicking on the "+" icon on the upper left corner, and selecting the MRP icon.

10 - Setting up the Compact Search V2 Page
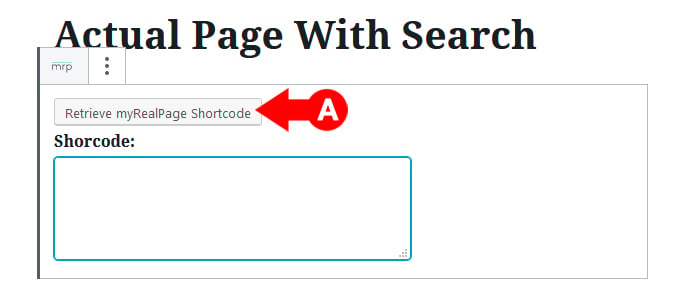
- A. Assign a title to your Backend Page and click on the Retrieve myRealPage Shortcode button. This will open a pop-up window. (Please note that you will be asked to log in to your myRealPage account, if you are not already logged in.)
11 - Search Forms
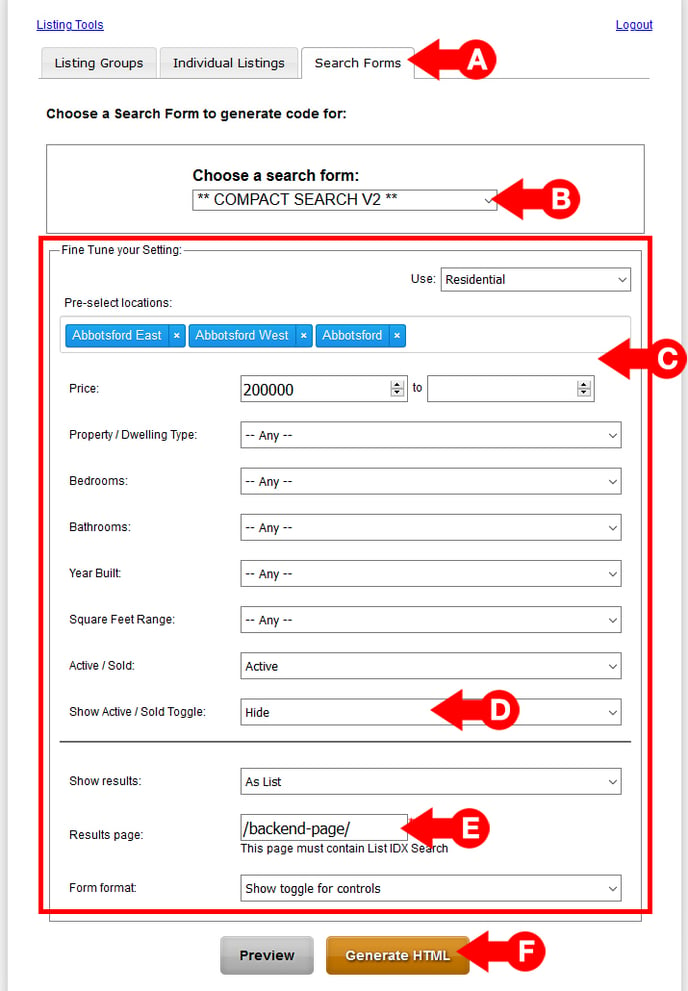
- A. In the pop up window, and once logged in, click on the Search Forms tab at the top.
- B. In the Choose a search form dropdown menu, select ** COMPACT SEARCH V2 **
- C. Fill in your settings for your pre-defined search. You can pre-select locations, select a price range, select property type, etc.
- D. Select whether you would like to display the option for your website's visitors to toggle the search between active and sold listings. (Please note that the availability of Sold Property information differs per Board. Please consult with your respective real estate board for more information.)
- E. [ IMPORTANT ] type in the page URL that was generated when you created the Backend Page in Part 1 Step 7 above.
- F. Click on the Generate HTML button. This will open a new pop-up window.
12 - Form HTML pop-up window
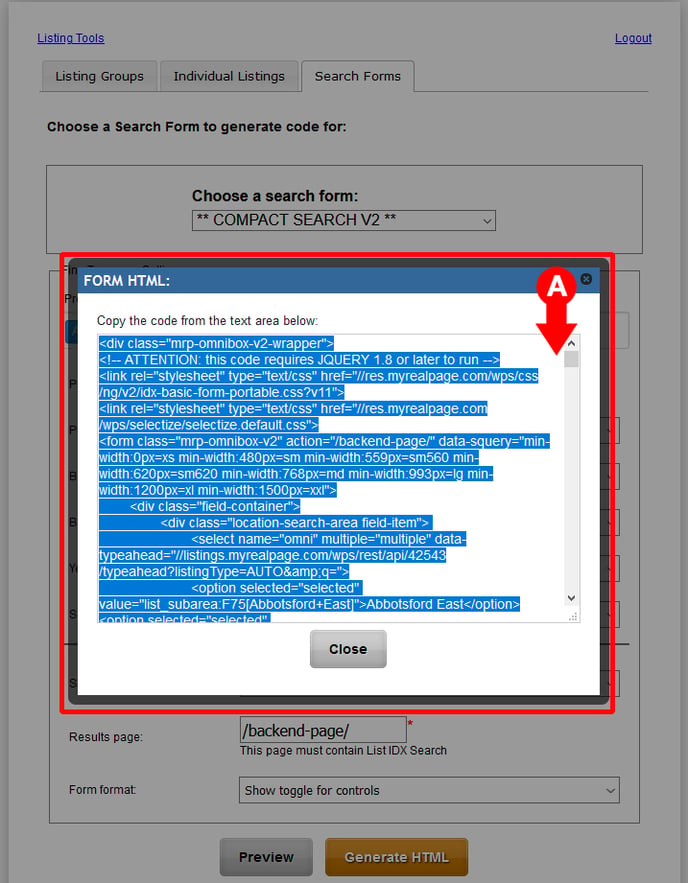
- A. Select ALL the code in the HTML pop-up window and copy it. (You can do this by pressing CTRL+A and then CTRL+C on your PC, or COMMAND/⌘+A and then COMMAND/⌘+C on your Mac.)
- Make sure the copied code remains in your system's clipboard. You can also paste the code into a separate text editor such as a word processor (MS Word, Google Docs, etc) or Notepad.
- You can now navigate away from the pop-ups, or close them.
13 - Back on the WordPress Editor
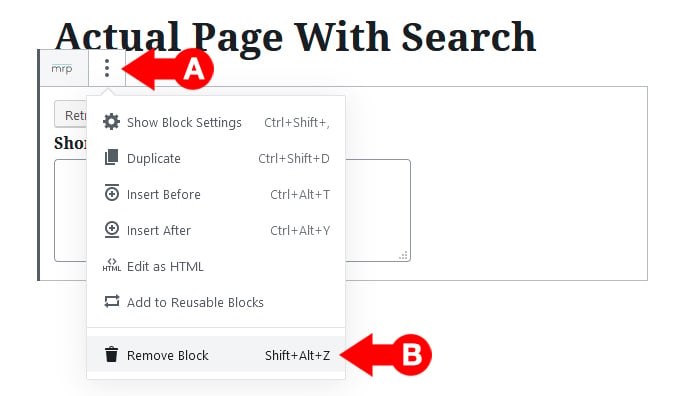
- A. You will now have to remove the MRP Block. To do this, click on the three dots beside the MRP icon to open the block options menu.
- B. Click on Remove Block.
14 - Using HTML
- A. Click on the icon for Add Custom HTML.

15 - Paste the code
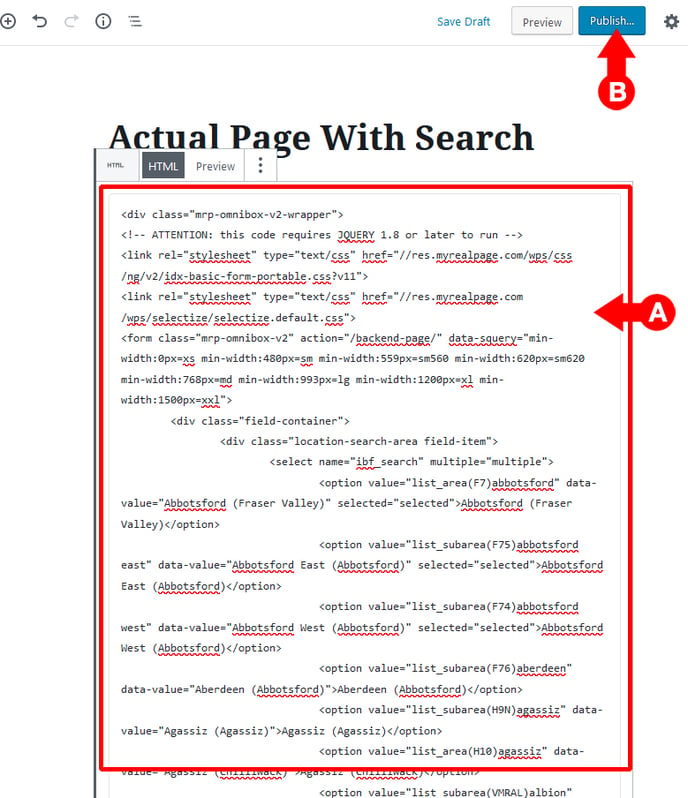
- A. In the text space provided in the Custom HTML block, paste in the complete code that you copied in Part 2 Step 12 above. (You can do this by clicking in the text area and pressing CTRL+V on your PC, or COMMAND/⌘+V on your Mac.)
- B. Click on the Publish button.
16 - DONE
- When you view the second page you have just created, you should now see the MRP Compact V2 search on it, filled in with details you have previously selected in Part 2 Step 11 above. This search can be collapsed or expanded by clicking on the Show More or Show Less button on the lower right corner.
